You need a 1 GB SD card (or more) and to download the image of the demo. The image is compressed to reduce the amount of data to download.
This image contains:
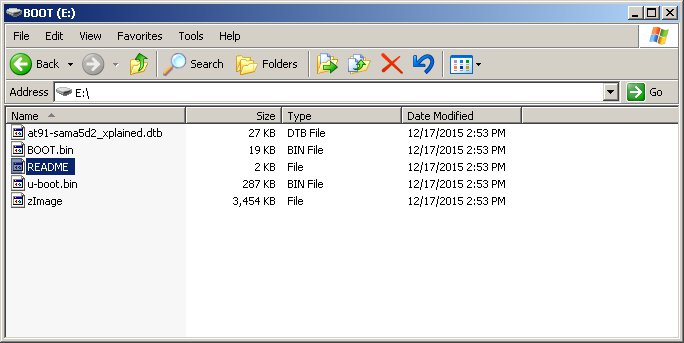
- a FAT32 partition with the AT91Bootstrap, U-Boot and the Linux Kernel (zImage and dtb).
- an EXT4 partition for the rootfs.
Multi-platform procedure
To write the compressed image on the SD card, you will have to download and install
Etcher
. This tool, which is an Open Source software, is useful since it allows to get a compressed image as input. More information and extra help available on the
Etcher website.
- Insert your SD card and launch
Etcher:
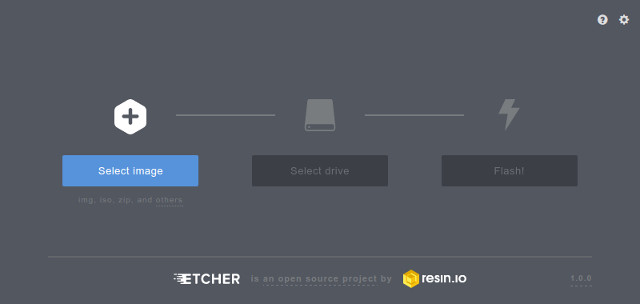
- Select the demo image. They are marked as "SD Card image" in the demo table above.
Note that you can select a compressed image (like the demos available here). The tool is able to uncompress files on the fly
- Select the device corresponding to your SD card (Etcher proposes you the devices that are removable to avoid erasing your system disk)
- Click on the
Flash! button
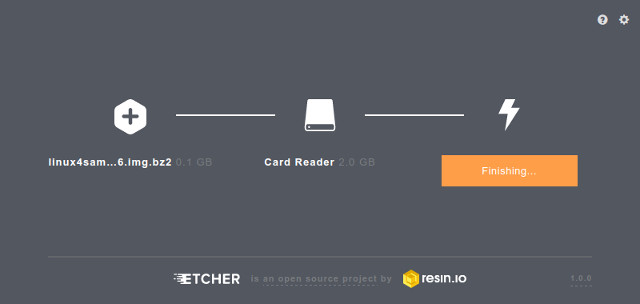
- On Linux, Etcher finally asks you to enter your root password because it needs access to the hardware (your SD card reader or USB to SD card converter)
- then the flashing process begins followed by a verification phase (optional)
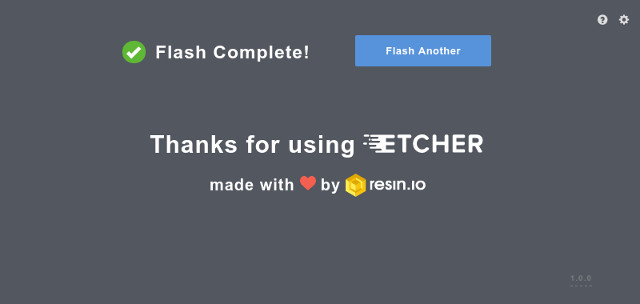
- Once writing done, Etcher asks you if you want to burn another demo image:
Note: The SD card should be inserted into the micro SD connector J3.
Alternative Linux procedure (Use at your own risk!)
bunzip2 linux4sam-poky-sama5d2_xplained-5.0.img.bz2
The compressed image will be removed and you will get the uncompressed image named
linux4sam-poky-sama5d2_xplained-5.0.img.
- Insert your SD card. To identify the device, use the
dmesg command.
If you have an integrated SD card reader, you should have something like this:
[74402.090920] mmc0: new high speed SDXC card at address 0007
[74402.091329] mmcblk0: mmc0:0007 SD64G 58.1 GiB
[74402.092653]  mmcblk0: p1 p2
The device is
mmcblk0.
If you have a usb adapter, you should have something like this:
[74450.341001] usb 2-1.2: new high-speed USB device number 7 using ehci-pci
[74450.434871] usb 2-1.2: New USB device found, idVendor=058f, idProduct=6366
[74450.434877] usb 2-1.2: New USB device strings: Mfr=1, Product=2, SerialNumber=3
[74450.434880] usb 2-1.2: Product: Mass Storage Device
[74450.434883] usb 2-1.2: Manufacturer: Generic
[74450.434885] usb 2-1.2: SerialNumber: 058F63666433
[74450.435551] usb-storage 2-1.2:1.0: USB Mass Storage device detected
[74450.435765] scsi host10: usb-storage 2-1.2:1.0
[74451.567171] scsi 10:0:0:0: Direct-Access     Multiple Card  Reader     1.00 PQ: 0 ANSI: 0
[74451.568032] sd 10:0:0:0: Attached scsi generic sg3 type 0
[74452.338367] sd 10:0:0:0: [sdc] 121864192 512-byte logical blocks: (62.3 GB/58.1 GiB)
The device is
sdc.
- Once you have identified the your SD device you can write the image on it with the
dd command.

Warning:
Be careful to not make any mistake about the device. You can lost your data if you write the image to your hard drive(s) which are usually /dev/sda or /dev/sdb.
sudo dd if=linux4sam-poky-sama5d2_xplained-5.0.img of=/dev/mmcblk0